
Using Multiple Cuda in ubuntu 16.04
You are using cuda 9.0 and want to use cuda 10.0 also. Don’t worry. Follow these steps.
NB: It’s working fine in my pc. I am not responsible for any kind of RISK.
Install cuda 10.0
- Download cuda 10.0 from nvidia
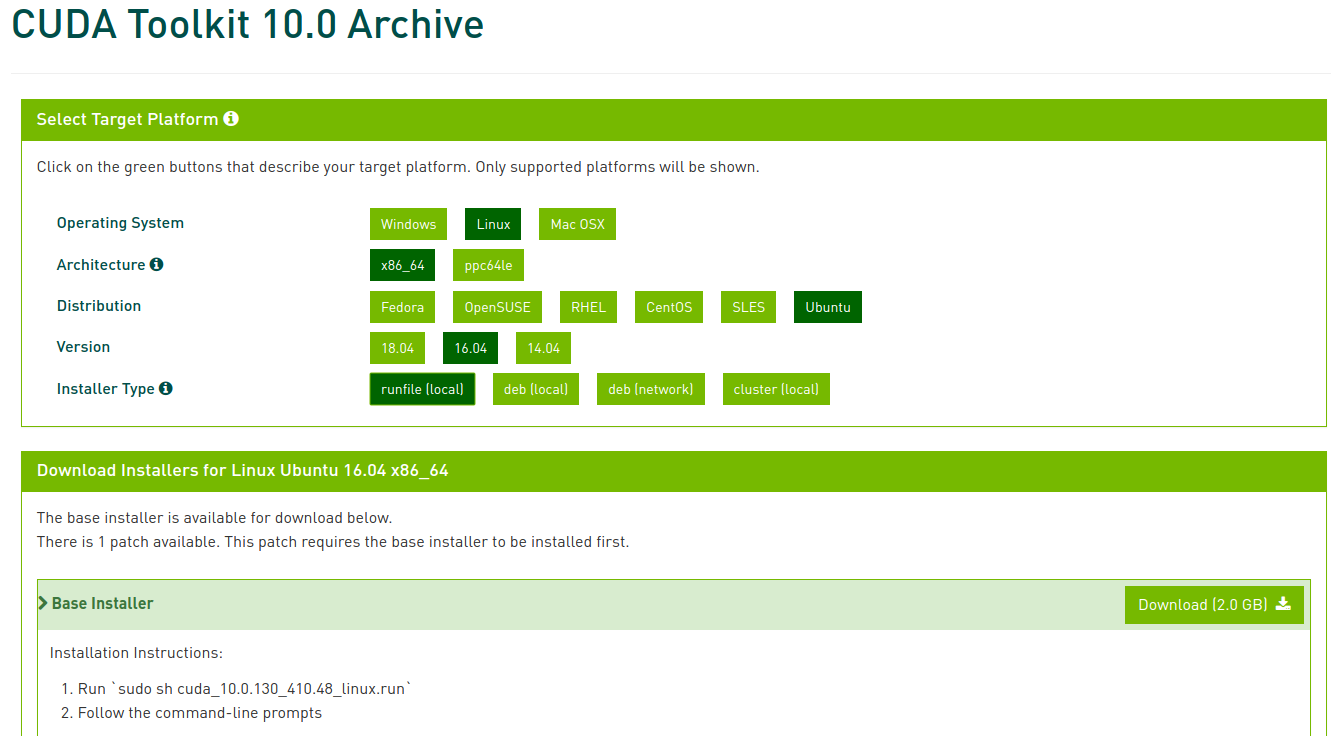
- Install
  cd Downloads
  sudo sh cuda-10.0.run --silent --toolkit --toolkitpath=/usr/local/cuda-10.0
Here
--silentthis will force installer to do everything in a silent mode without any interactive prompt. Really useful for the automation--toolkit— install only the toolkit, majority of users probably indeed need only toolkit--toolkitpath— this is where all the magic starts, each cuda that we’re going to install needs to be installed in its own separate folder, in our example CUDA9 is installed in /usr/local/cuda-9.0, therefore CUDA10 will be installed in /usr/local/cuda-10, CUDA9.1 can go to /usr/local/cuda-9.1 , etc
Activate cuda 10.0
inside /usr/local open terminal and remove cuda link
sudo rm -rf cuda
- create new cuda link
sudo ln -s cuda-10.0 cuda
It’s done. Now use cuda 10.0
Going back to cuda 9.0
inside /usr/local open terminal and remove cuda link
sudo rm -rf cuda
- create new cuda link
sudo ln -s cuda-9.0 cuda
References
https://blog.kovalevskyi.com/multiple-version-of-cuda-libraries-on-the-same-machine-b9502d50ae77
Comments